
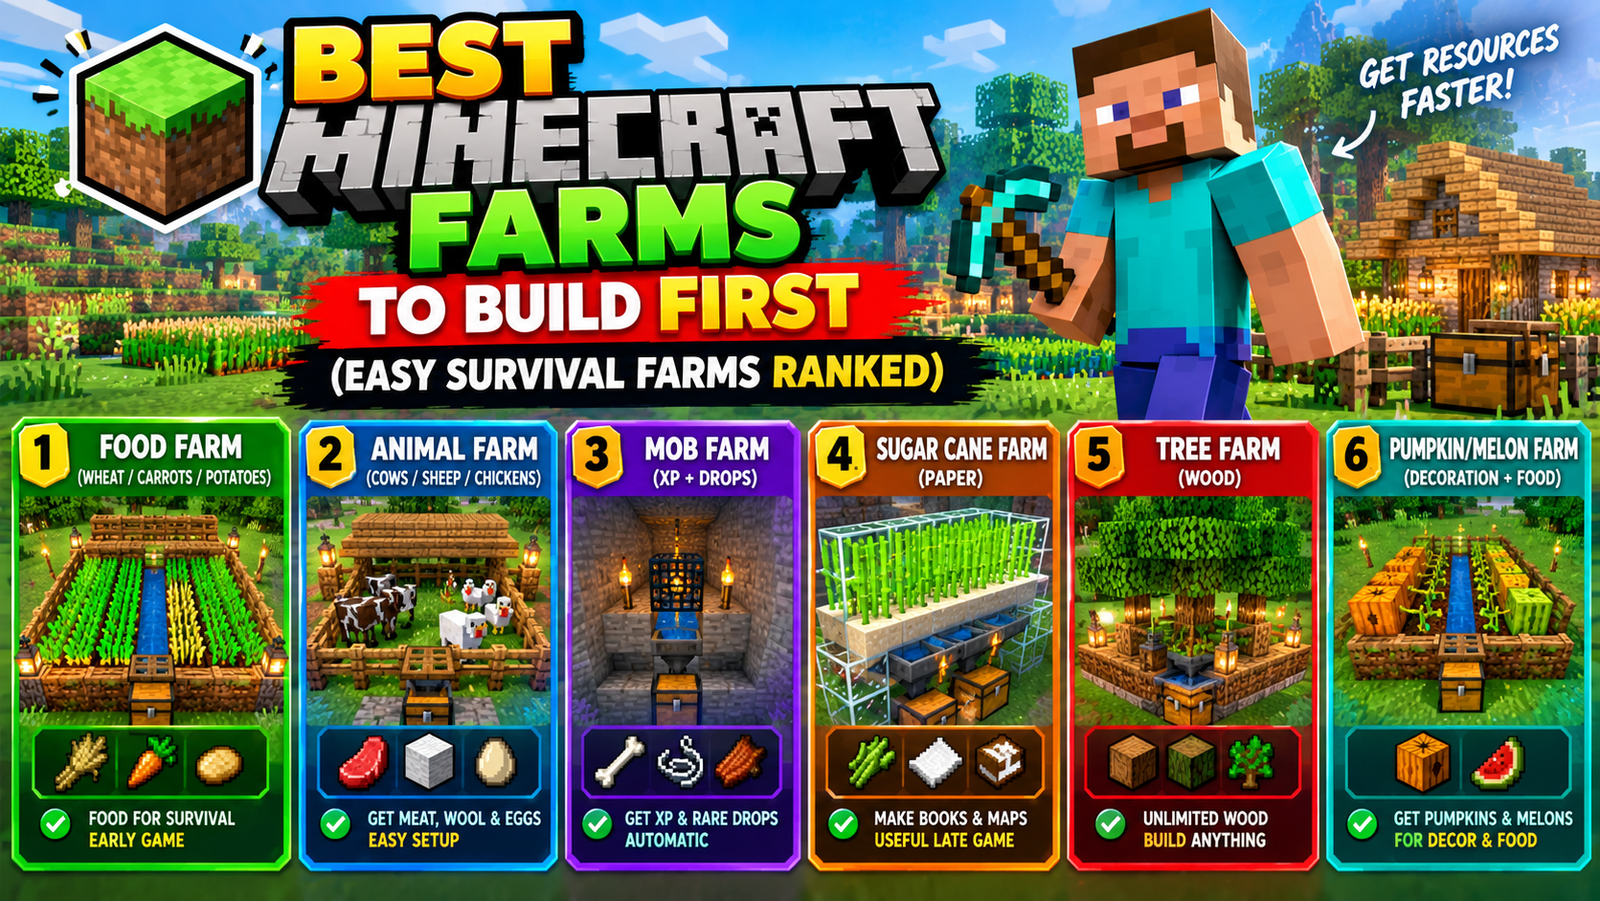
The best Minecraft farm to build first is a basic crop farm of wheat, carrots and potatoes next to water, because it gives you steady food and villager trades from day one. After that, the farms that pay off fastest are sugar cane (paper and books), an egg or chicken farm, a kelp farm for fuel, an iron farm and an XP farm. Each one saves you hours of repetitive gathering later.
This guide ranks the most useful survival farms in the order most players build them, explains what each produces and gives the key rules that make them work.
Minecraft Farms at a Glance
| Farm | Main output | Difficulty | When to build |
|---|---|---|---|
| Crop farm | Food, villager trades | Very easy | Day 1-2 |
| Sugar cane farm | Paper, books, rockets | Easy | Early game |
| Tree farm | Wood | Easy | Early game |
| Animal pens | Leather, wool, meat | Easy | Early game |
| Egg / chicken farm | Eggs, cooked chicken | Easy-medium | Early-mid game |
| Pumpkin and melon farm | Food, trades | Easy-medium | Mid game |
| Kelp farm | Dried kelp blocks (fuel) | Medium | Mid game |
| Iron farm | Iron ingots, poppies | Medium-hard | Mid game |
| Mob / XP farm | Experience, bones, arrows, string | Medium-hard | Mid-late game |
| Villager breeder | New villagers for trading | Medium | Mid game |
1. Crop Farm (Wheat, Carrots, Potatoes)
Till dirt with a hoe and plant seeds, carrots or potatoes. Two rules matter: farmland within four blocks of water stays hydrated and grows faster, and crops need enough light (about light level 9 or higher) to grow, so add torches if you want them growing at night. Fence the farm to keep animals from trampling it. The Minecraft Wiki crop farming tutorial covers growth speed in detail.
Upgrade: build a water-flush version, where a lever releases water that breaks fully grown crops and carries the drops into hoppers and a chest.
2. Sugar Cane Farm
Sugar cane only grows on sand, dirt or grass blocks directly next to water. Plant a row along a water channel and harvest the top two blocks, leaving the bottom one to regrow. It turns into paper for books (needed for enchanting tables and bookshelves), maps and firework rockets for elytra flight.
Upgrade: an observer watches each cane, and a piston breaks it when it grows, with hoppers collecting the drops automatically.
3. Tree Farm
Plant saplings in rows with space between them (oak, birch and spruce are easiest) and light the area. Bone meal speeds growth. You will never run short of wood for tools, buildings and charcoal.
4. Animal Pens
Lead cows, sheep, pigs and chickens into fenced pens with wheat, carrots or seeds, then breed them. Cows give leather for books, sheep give wool for beds, and all of them give food.
5. Egg and Chicken Farm
Chickens lay eggs on their own every few minutes. Keep several chickens on a hopper floor so eggs drop into a chest automatically. Throwing those eggs into a second chamber hatches baby chickens, which you can turn into an automatic cooked chicken supply with a little redstone.
6. Pumpkin and Melon Farm
Each stem needs an empty dirt, grass or farmland block next to it where the fruit can grow. A simple layout alternates rows of stems with empty rows, so harvesting is just walking down the line with an axe.
7. Kelp Farm
Kelp grows quickly underwater. With observers and pistons you can harvest it automatically, then smelt it into dried kelp and craft dried kelp blocks, which are a renewable furnace fuel. Many players use a kelp farm to power their smelting for the rest of the game.
8. Iron Farm
Iron golems spawn naturally around villagers, and an iron farm takes advantage of that, usually by keeping villagers safe in a pod while a zombie scares them, then funnelling the spawned golems into a kill chamber. The result is a steady flow of iron ingots for hoppers, rails, anvils and armor. Important: Java Edition and Bedrock Edition spawn golems differently, so follow a design made for your edition.
9. Mob and XP Farm
A spawner-based farm (built around a zombie or skeleton spawner you find in a dungeon) or a dark-room mob farm high above the ground gives you experience for enchanting and repairing gear, plus bones, arrows and string. It is the farm that makes enchanting with Mending practical.
10. Villager Breeder
Villagers breed when they have enough food and free beds. A breeder gives you a stream of new villagers that you can assign workstations to and trade with, including librarians for enchanted books.
Tips for Building Farms in Survival
- Build near your base so crops grow while you are around; chunks far away stop updating when you leave.
- Light everything so mobs do not spawn inside your farms.
- Start manual, automate later. A simple farm on day one beats a perfect redstone farm next week.
- Check your edition and version before copying a redstone design from a video.
Need a base to put all these farms around? Browse our Minecraft house ideas. Playing co-op on console? Here is how to use Discord on Xbox to plan builds together.
Minecraft Farm FAQ
What is the first farm you should build in Minecraft?
A wheat, carrot and potato farm next to water. It solves food early and supplies villager trades.
Do Minecraft crops grow when you are not nearby?
Crops only grow in loaded chunks, so they stop growing when you are far away.
What is the most useful farm in Minecraft?
Many players say an iron farm or an XP farm, because iron and experience are needed constantly in mid and late game.
How far from water can farmland be?
Farmland stays hydrated up to four blocks away from a water source block, horizontally.
Are automatic farms hard to build?
Simple ones like egg, sugar cane and kelp farms only need hoppers, observers and pistons. Iron and mob farms take more materials and planning.